PCB Fabrication
In 2019 during my experience at the FabAcademy, you are not allowed to use any commercial board during the course (like an Arduino). So, I had the challenge to learn how to make my own PCB (Printed Circuit Board) and learn how to program them, which for me was the hardest task of all.
I wanted to add this part of my work on my portfolio, not only to show the process of how I made them and what I used them for, but also because I find that the PCBs in general, are aesthetically so beautiful that they itself could be a jewel!
This is the list of materials and softwares I used along the process:
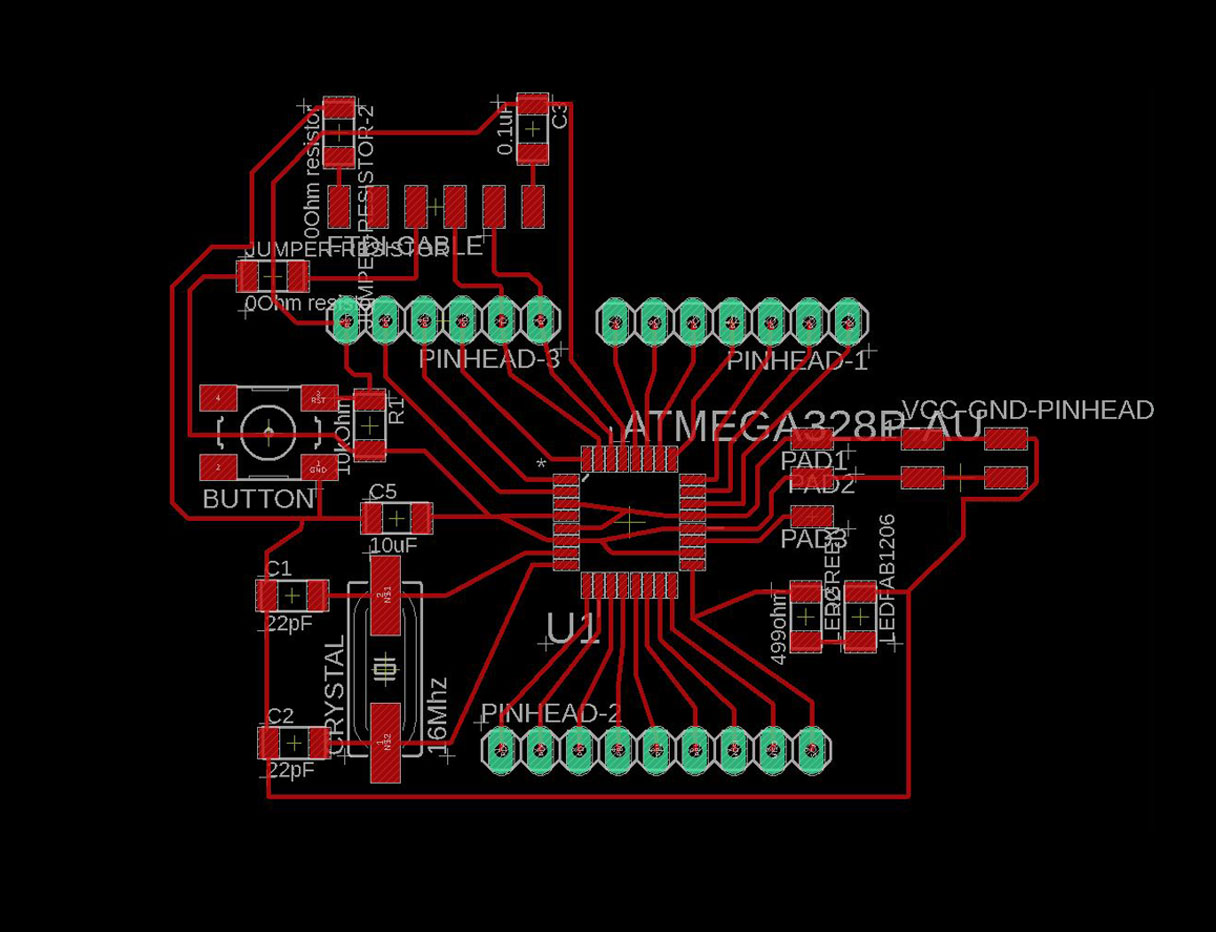
- Eagle Open-source software from Autodesk, used to create the schematics of the board.
- Arduino IDE to program my boards to “make something”.
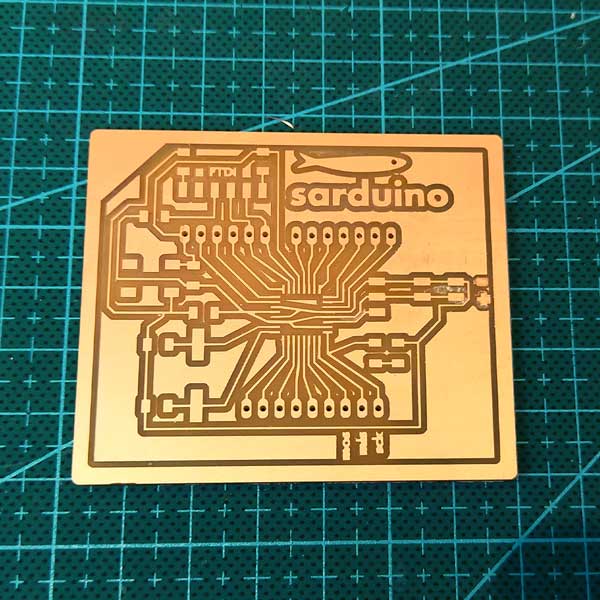
- FR1 phenolic paper the material used to make the PCB.
- CNC milling machine milling machine to “carve” the traces.
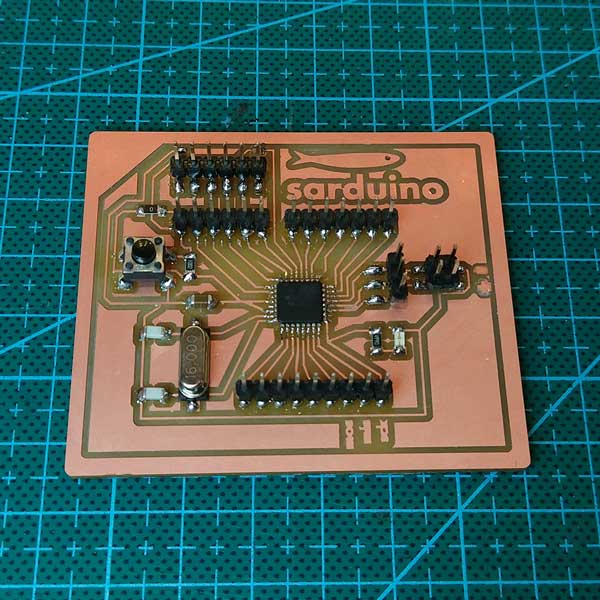
Sarduino
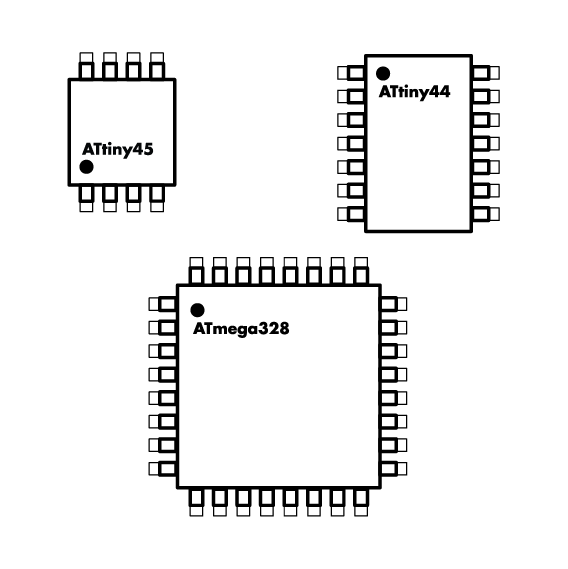
During one of my assignments I choose to make an Arduino-compatible board based on an ATMEGA328P microcontroller designed by Daniele Ingrassia.
One of the reasons why our instructor engouraged us to make our own Arduino compatible board was mainly because we would be using Arduino IDE to program it, and this would make it less difficult when doing the programming and there's lots of documentation about this type of boards. Also, it was a harder challenge and they liked to keep us suffering during the course.
To know more about what I used this board for you can go to my FabAcademy documentation HERE
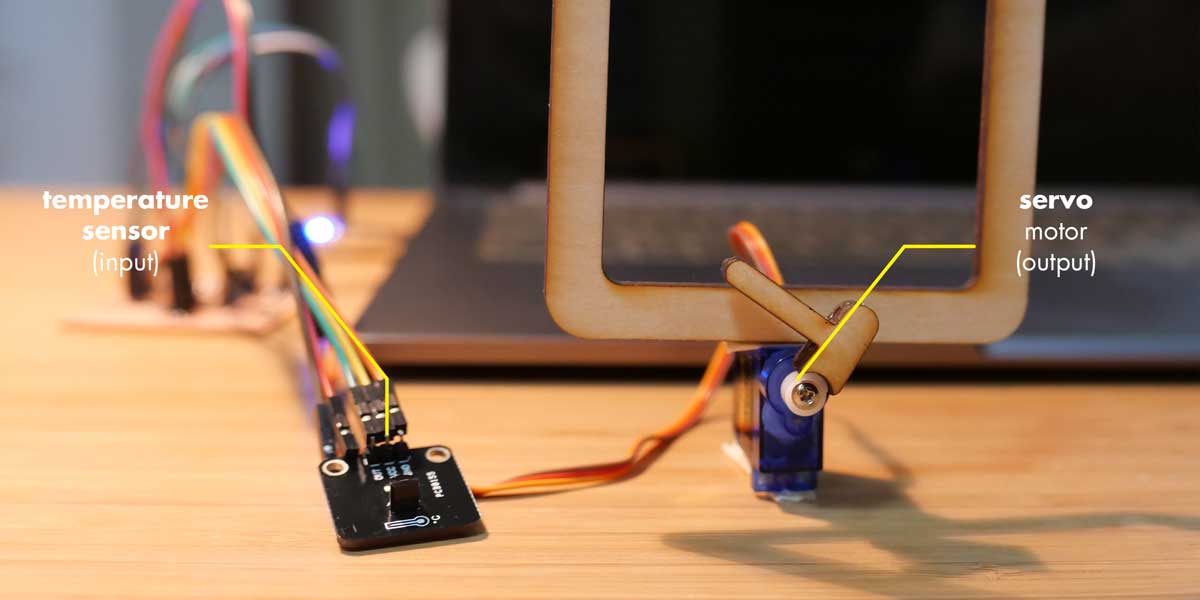
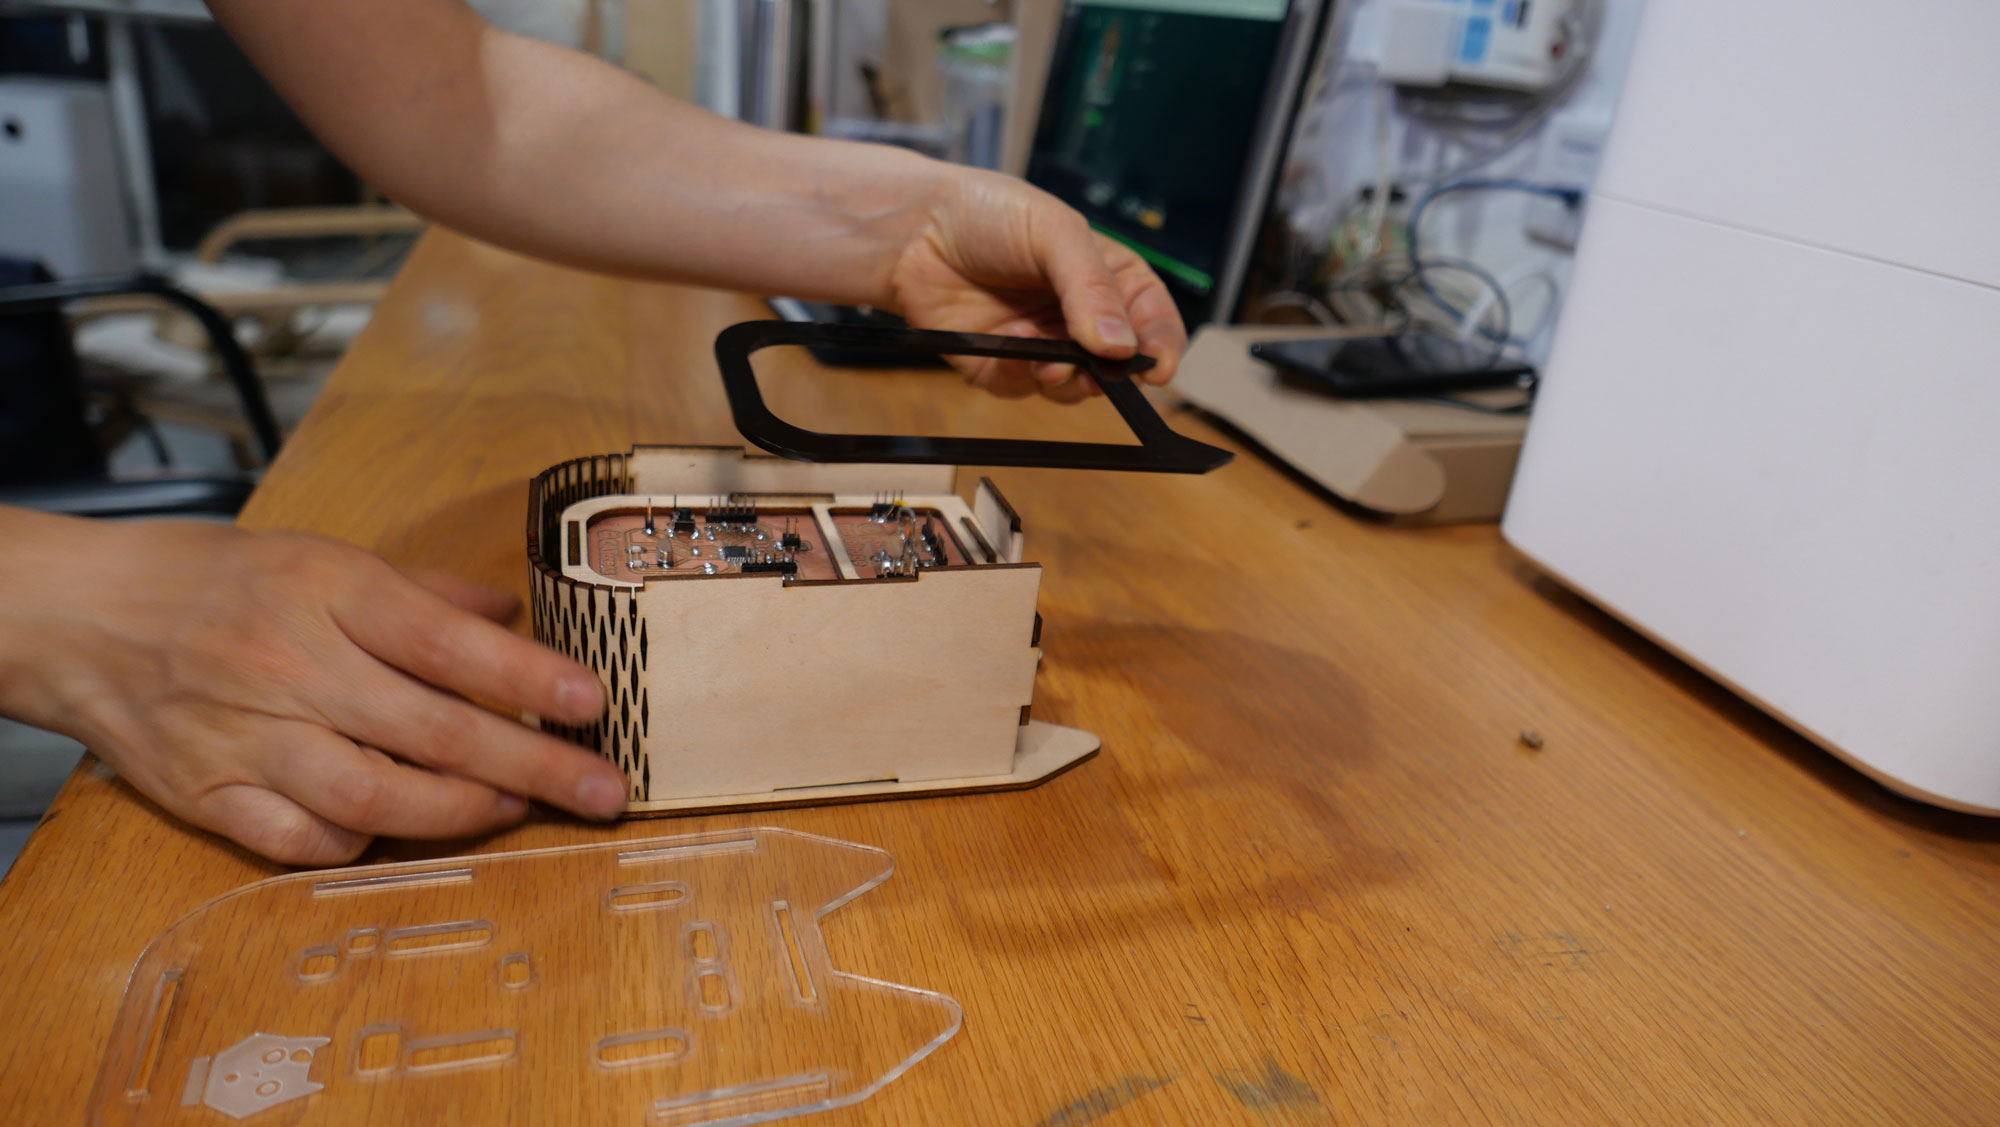
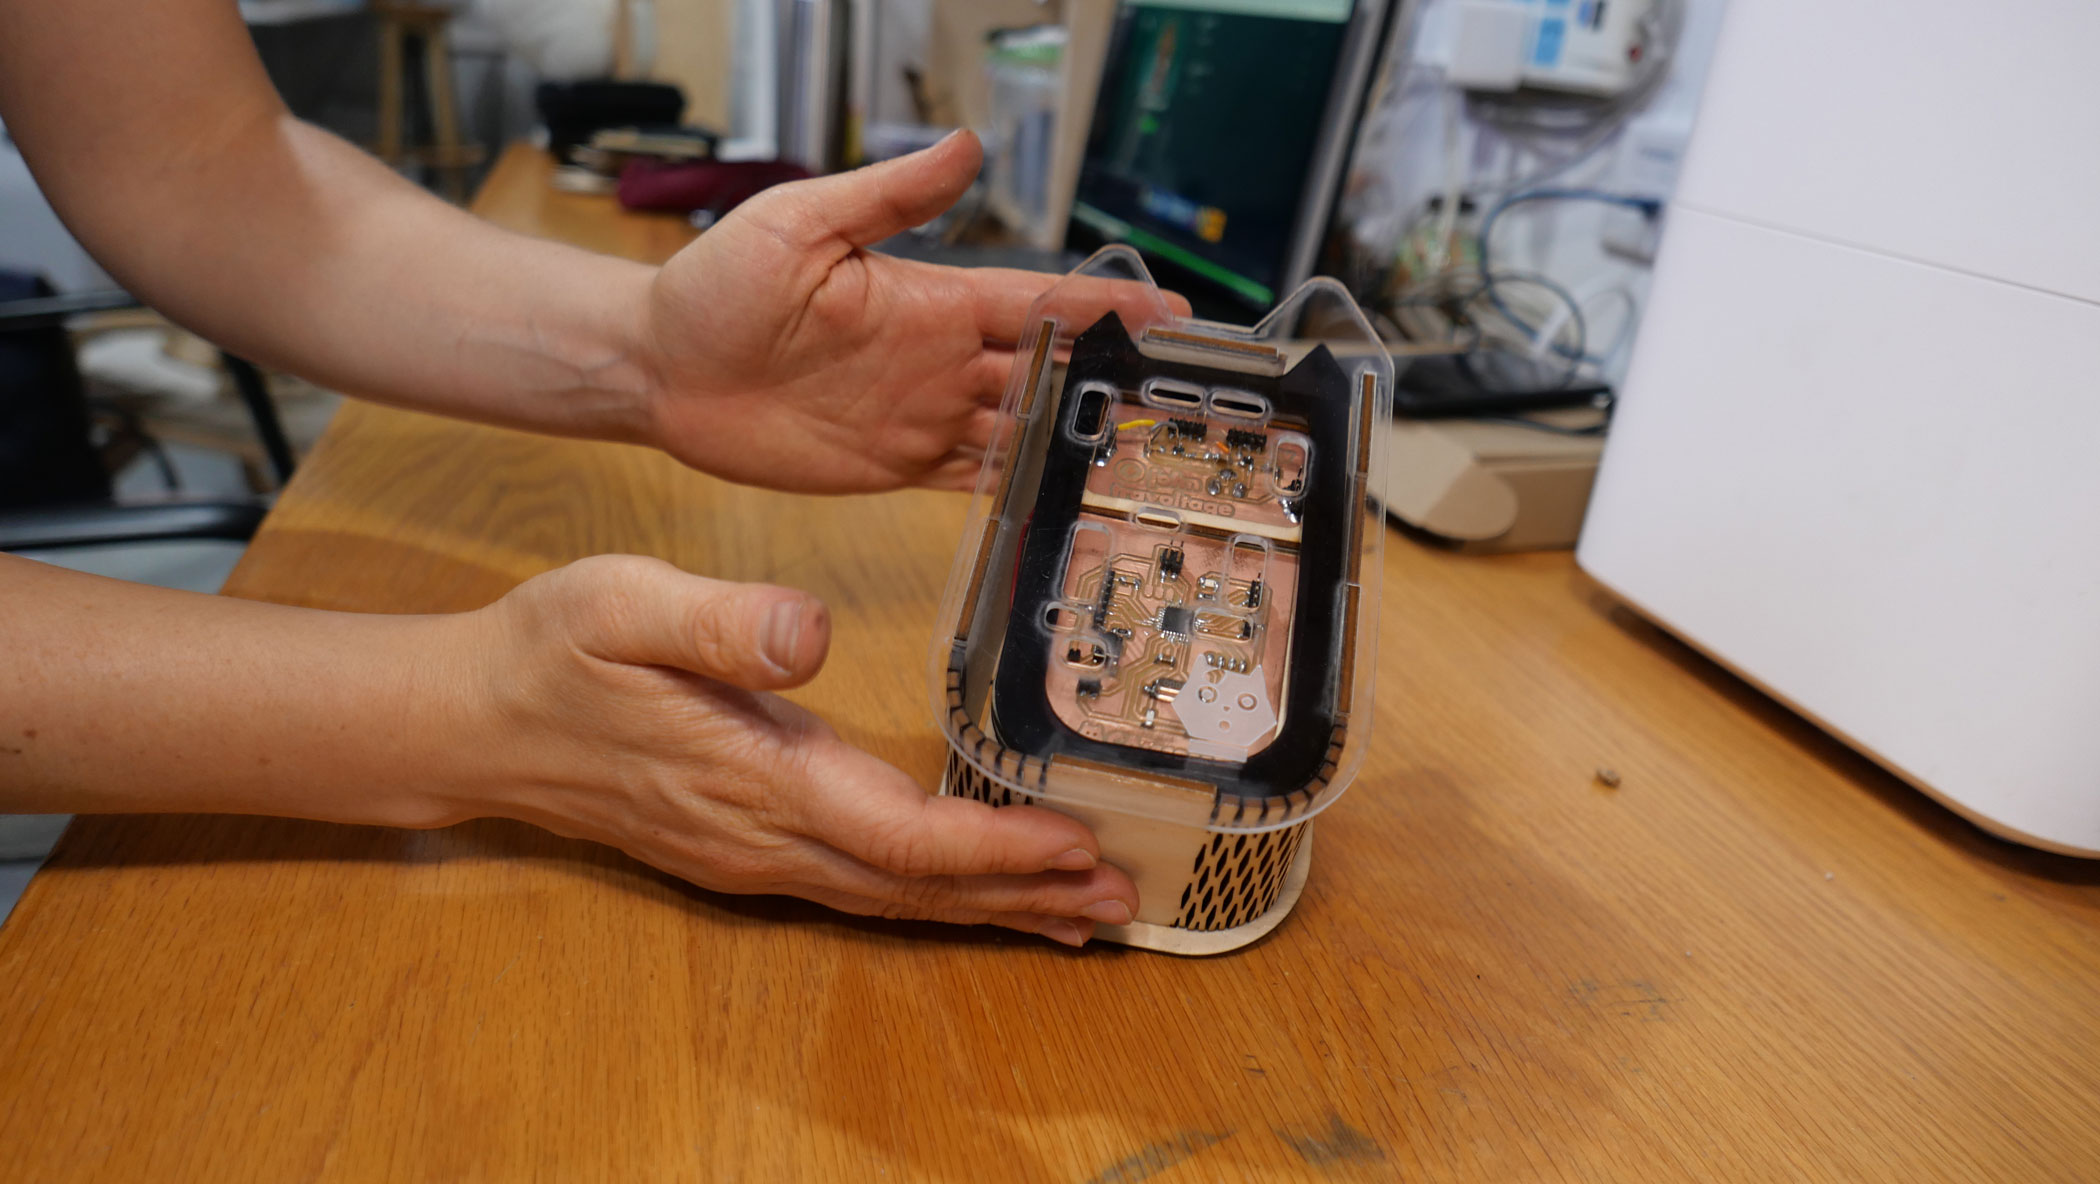
Cat-ccess
For my final project, that you can also see on this website, I made my PCB based on the previous Sarduino but using only the pin outs for the sensors I needed, leaving aside the rest of pins I didn't need from my original SARDUINO.
I decided to integrate the boards and wiring inside a box, for better usage and to avoid any ugly wiring around my prototype.
This is a short video of how I soldered each component, my favourite part of making the PCBs :)
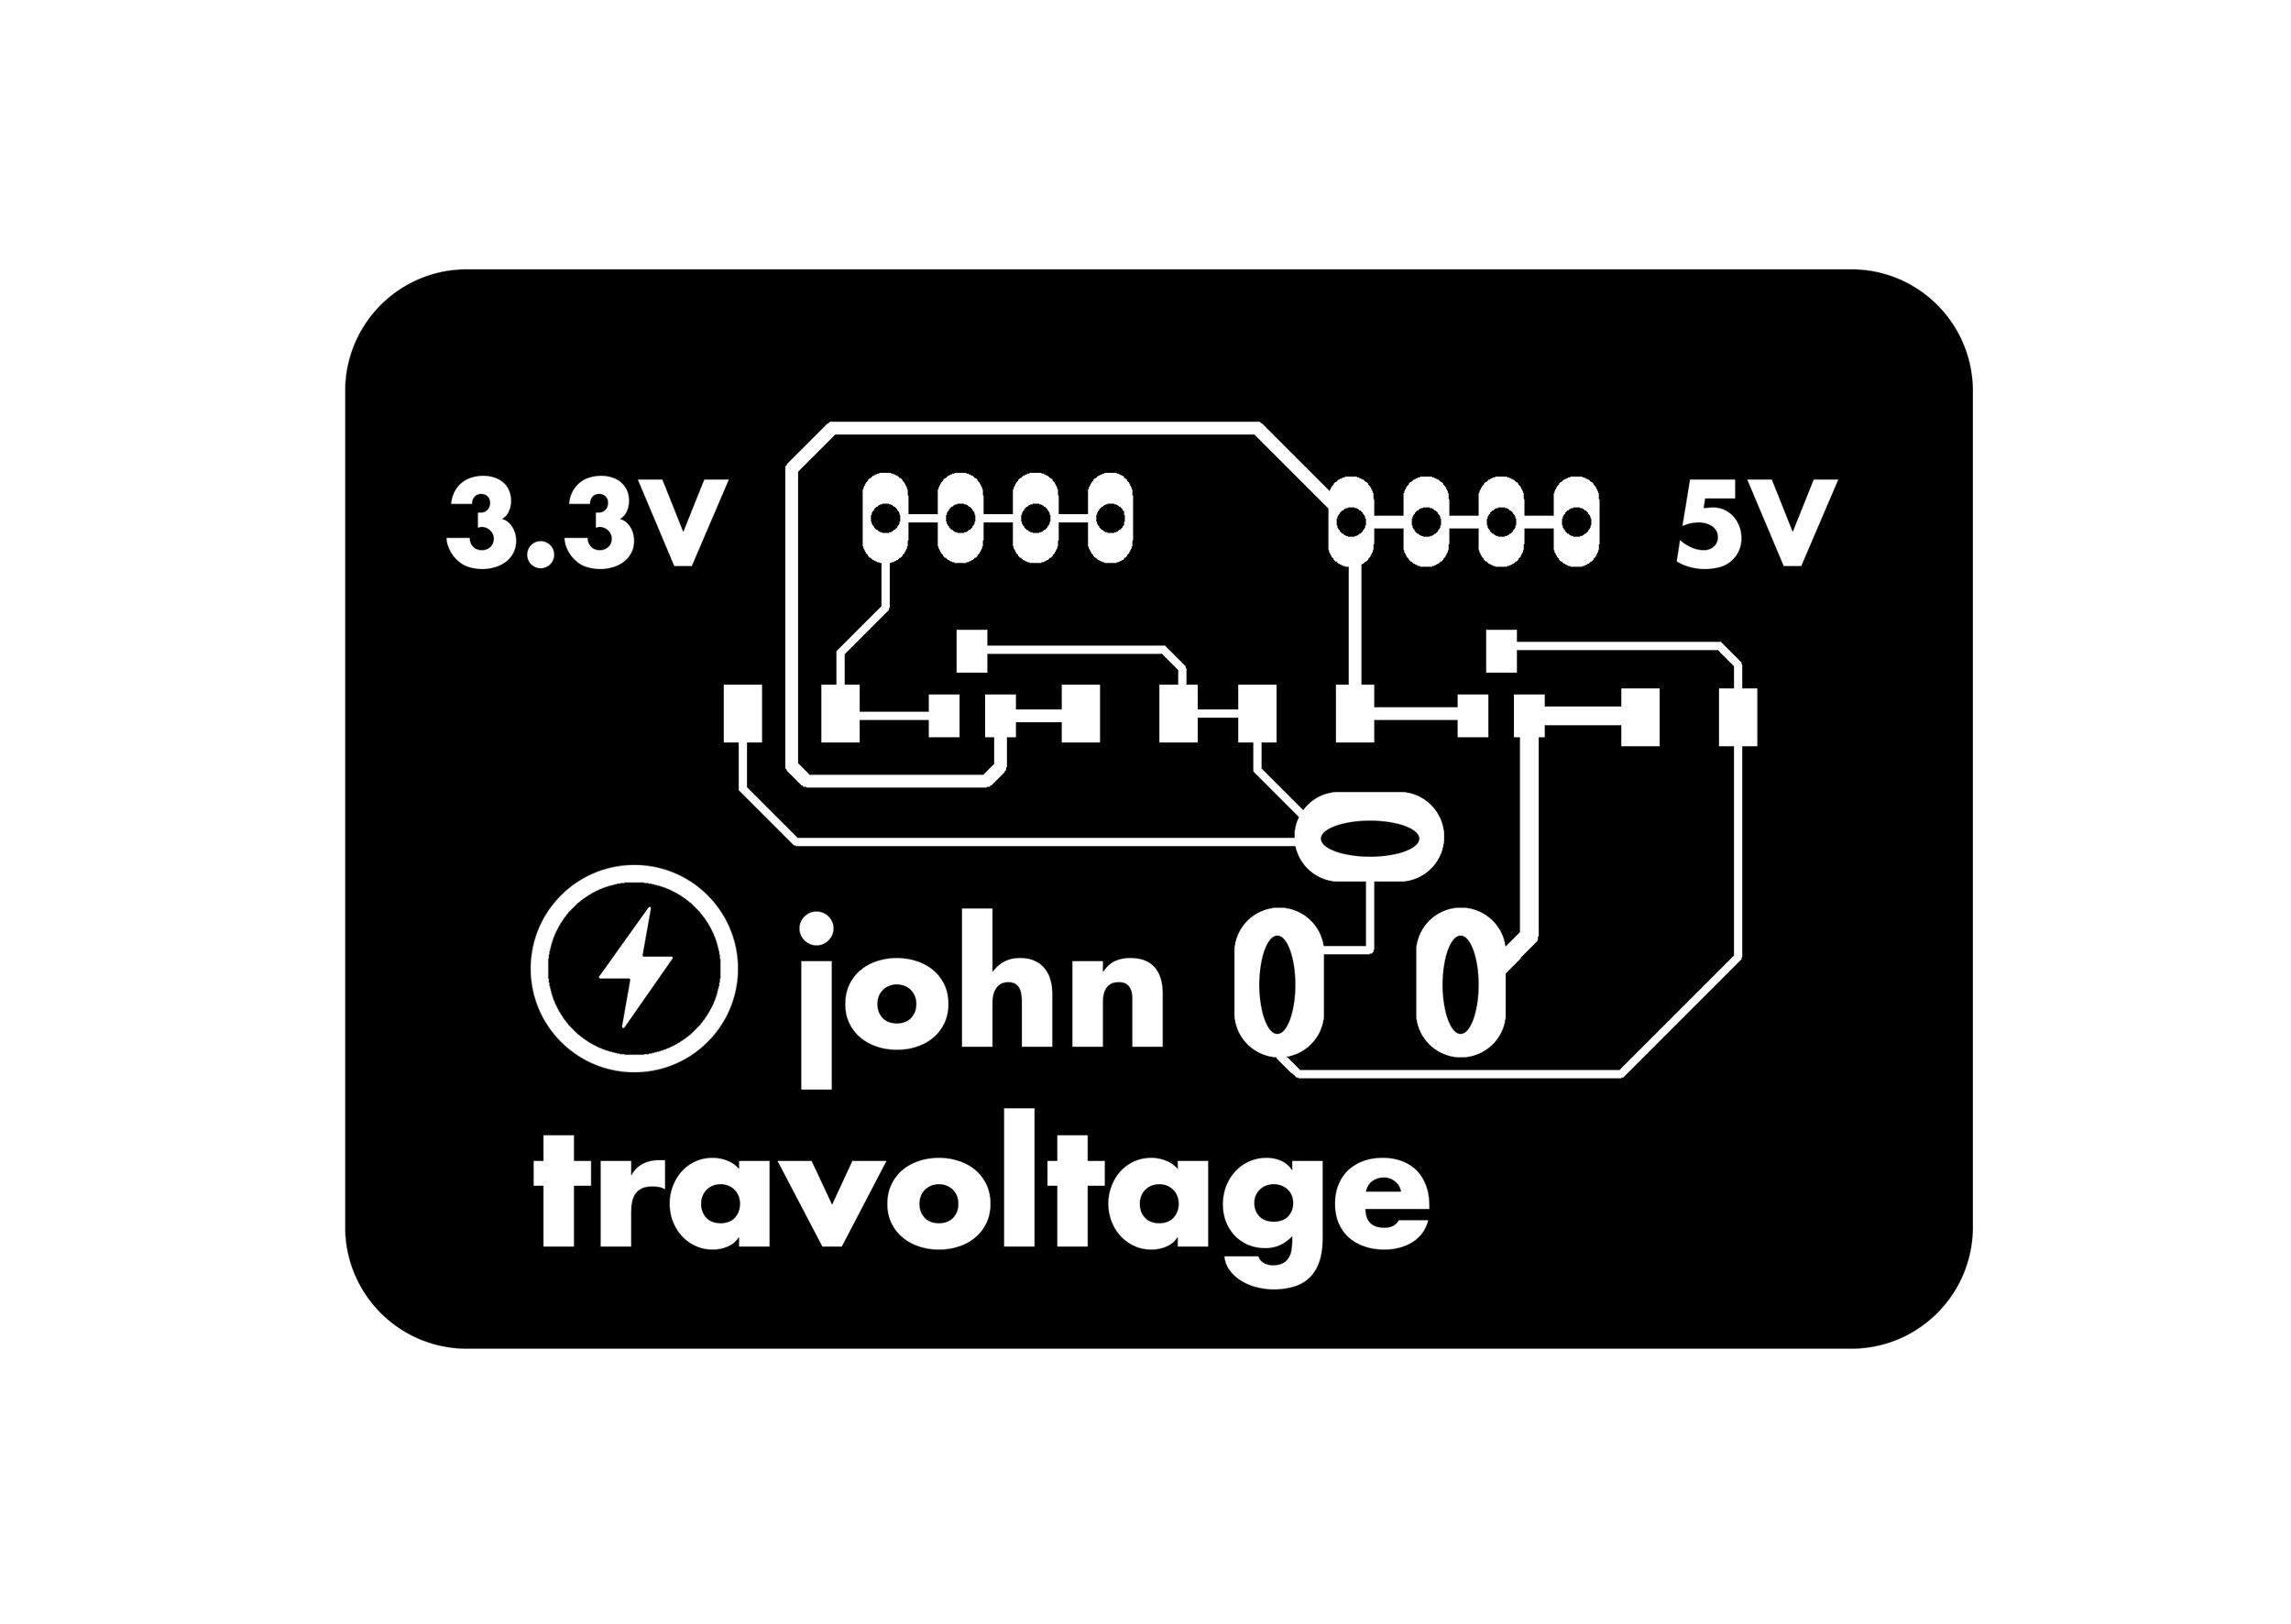
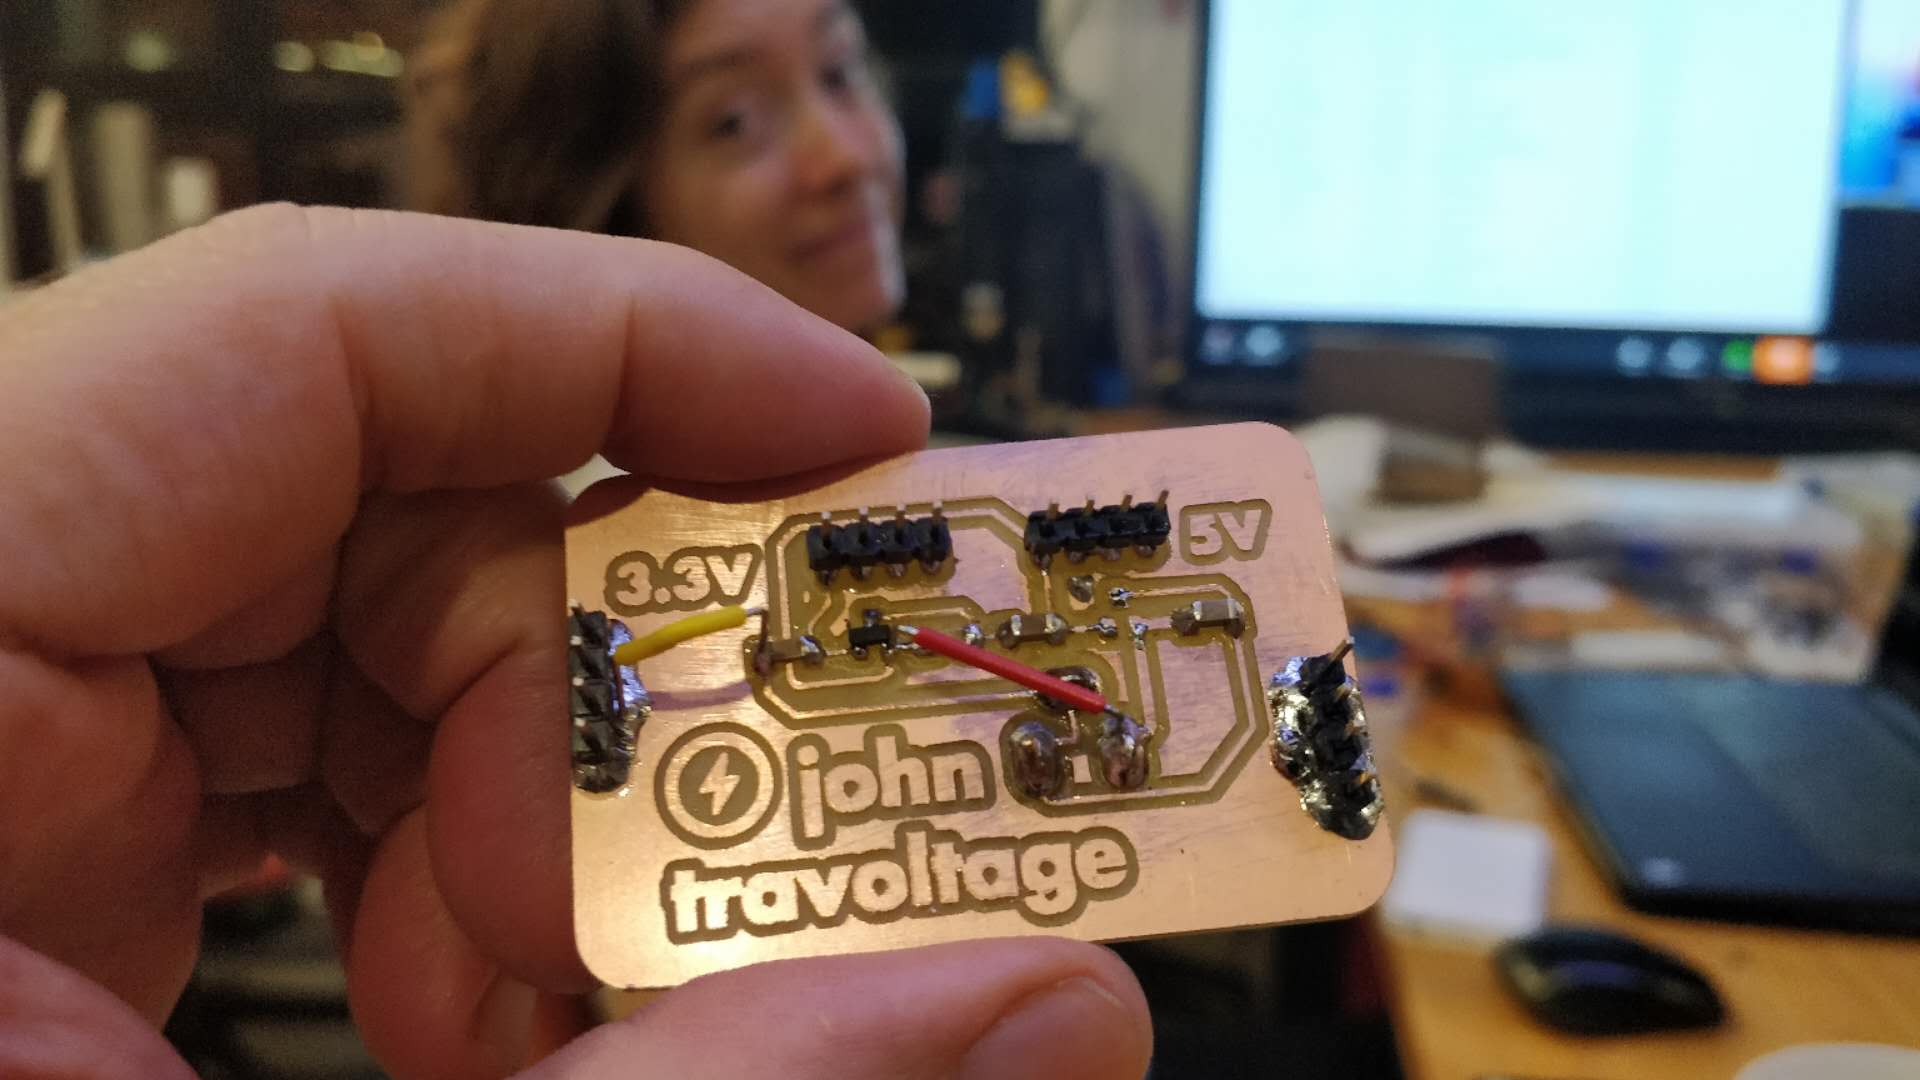
John Travoltage
I made an extra board that its only purpose was to provide 3.3V & 5V to my sensors from an external power supply of 9V. My dear John never worked as expected, but I learned a lot about power supply…
Here's the full documentation about the making process.